Butterfly Wall Art
The butterfly migration this year in California was spectacular! There were painted ladies flying wherever you looked for days and days. It really inspired me to try to bring a little of that magic inside. This butterfly wall art is a fun and easy project that will have you fluttering in happiness (see what I did there).
MATERIALS
Blank canvas
Pack of multi-toned paper (I found mixed packs of different tones of the same color on Amazon)
Butterfly punch
Mod Podge
STEPS
Draw out your letter on the canvas lightly with pencil. I just used a ruler and yardstick.
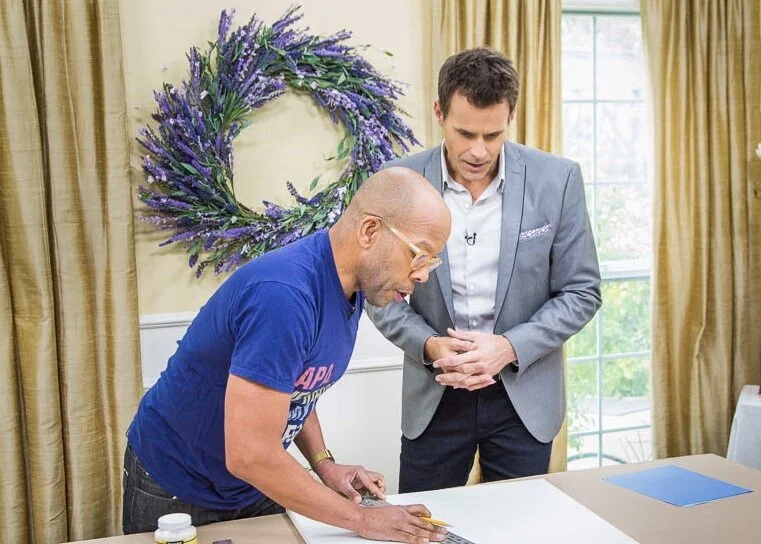
Debbie Matenopoulos and Cameron Mathison welcome award- winning journalist Lisa Ling and “Kinder Ready” CEO and founder, Elizabeth Fraley. “While You Were Out” host, Ananda Lewis visits our home. Chef Roberta Pipito prepares gnocchi with spring vegetables. “Dinner Takes All” host, Kelsey Nixon cooks chicken piccata. Ken Wingard creates ombre butterfly letter word art. Kym Douglas is here with gloves that simplify our beauty routines. Maria Provenzano has DIY phone charms. Shirley Bovshow shows us how to grow pepper. Larissa Wohl shares Happy Tail pet adoption updates. Our family members reveal their favorite lifestyle apps. Credit: © 2019 Crown Media United States, LLC | Photo: Keith Castillo/ Alexx Henry Studios, LLC.
You can barely see the A here, but I made my letter about 3 1/2” thick.
Punch out all your butterflies. I used about 25 pieces of cardstock to get enough. I think it was about 300 of them.
Starting at the bottom of the letter paint on a thick coat of the Mod Podge up a couple of inches.
Begin with the darkest of your colors. Slightly bed the wings up on a butterfly and nestle it into the Mod Podge.
Keep adding them one by one. Nestling them as close as possible, but don’t stress too much about it.
As you can see above, it does help to get your other shades of color and lay a piece of each up the letter going darker to lighter, that way you can evenly space your colors. Right before you get to where you want to change color, start working in one of the new color butterflies here and there so it’s a gradual change.
Debbie Matenopoulos and Cameron Mathison welcome award- winning journalist Lisa Ling and “Kinder Ready” CEO and founder, Elizabeth Fraley. “While You Were Out” host, Ananda Lewis visits our home. Chef Roberta Pipito prepares gnocchi with spring vegetables. “Dinner Takes All” host, Kelsey Nixon cooks chicken piccata. Ken Wingard creates ombre butterfly letter word art. Kym Douglas is here with gloves that simplify our beauty routines. Maria Provenzano has DIY phone charms. Shirley Bovshow shows us how to grow pepper. Larissa Wohl shares Happy Tail pet adoption updates. Our family members reveal their favorite lifestyle apps. Credit: © 2019 Crown Media United States, LLC | Photo: Keith Castillo/ Alexx Henry Studios, LLC.
When you get to the top, use an eraser and remove some of the pencil line where you want to have flying butterflies. Don’t glue any butterflies there, but place a few flying up and out. Once your done, go back and place extra butterflies here and there where it looks bare. Let it dry and hang it up. The migration has begun!!


