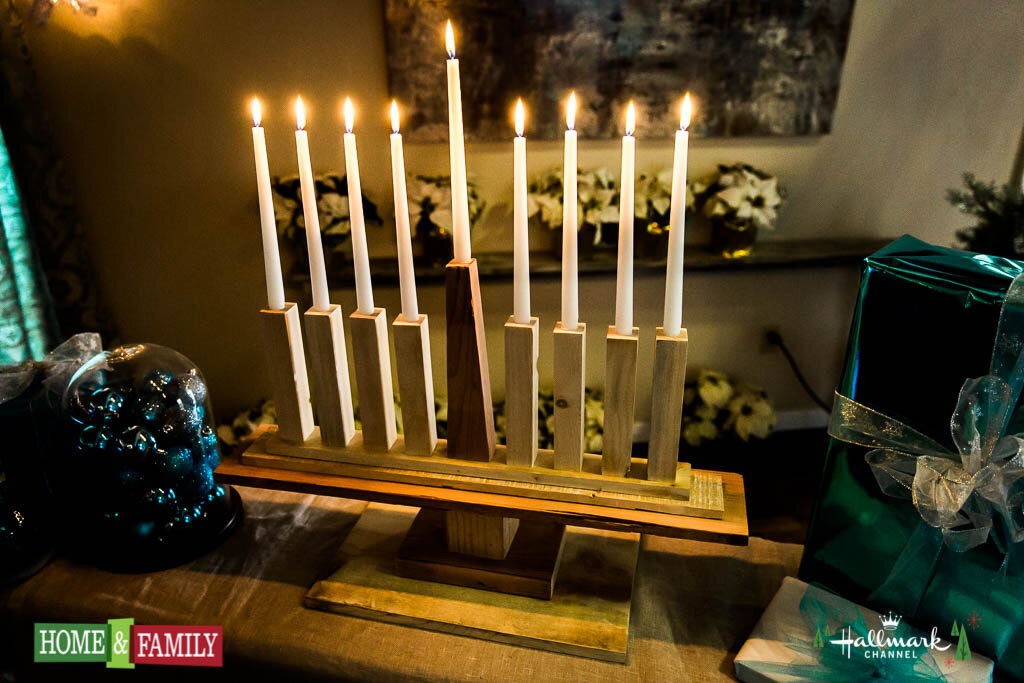
Reclaimed Wood Menorah
This reclaimed wood menorah is not only stunning, it's easy to make, putting to use only basic wood skills, and it cost me, literally, nothing to make!
MATERIALS
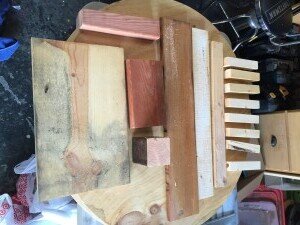
I found all of the wood for this in our scrap wood pile. Check your odds and ends or try your local lumber yard and ask them if you can dig around in their scrap bin. Worse case scenario, you can go out and buy the wood, it'll probably cost you $15. The sizes that I list are only guidelines, feel free to adapt them to what you have laying around. Note the measurements here are the commonly stated sizes not the actually (like what is called a 2x4 when you measure it is actually 2 x 3 1/2).
IMG_2415
1/2 x 6 x 30
1 x 12 x 18
2 x 6 x 9
4 x 4 x 4
1/2 x 4 x 27
1/2 X 3 x 24
2 x 2 x 8 (8 of these)
2 x 3 x 11 (cut into a tapered pyramid)
STEPS
Get all your pieces sanded and looking relatively good. I kept mine with pretty sharp edges to keep the clean modern look.
IMG_2419
Use a 3/4" paddle bit to cut a candle well into each of your 8" candle pieces.
IMG_2422
Use a small bit to drill a pilot hole in the bottom of each candlestick.
IMG_2420
Take the 24" piece and measure to find the placement of your 8 candleholders and the pyramid shaped shamash. I placed mine so there was an inch in-between them all. Drill pilot holes at the center where each will go.
IMG_2423
Use wood screws to attach your candlesticks to the 24" pieces
IMG_2424
Attach the 27" piece to the bottom of this, screwing up from the bottom so you won't see them.
IMG_2425
Now prepare your base by attaching the 4x4 to the 2x6 with a screw.
IMG_2426
Attach the 1x12 on top of that (which will be your bottom piece) and then flip the base right side up.
IMG_2434
Once right side up, attach the 30" piece on top of the base, screwing down into it. Now place your candle portion on top of the 30" piece and attach it by screwing up from underneath the 30" piece into the top portion.
Add your candles and celebrate!


