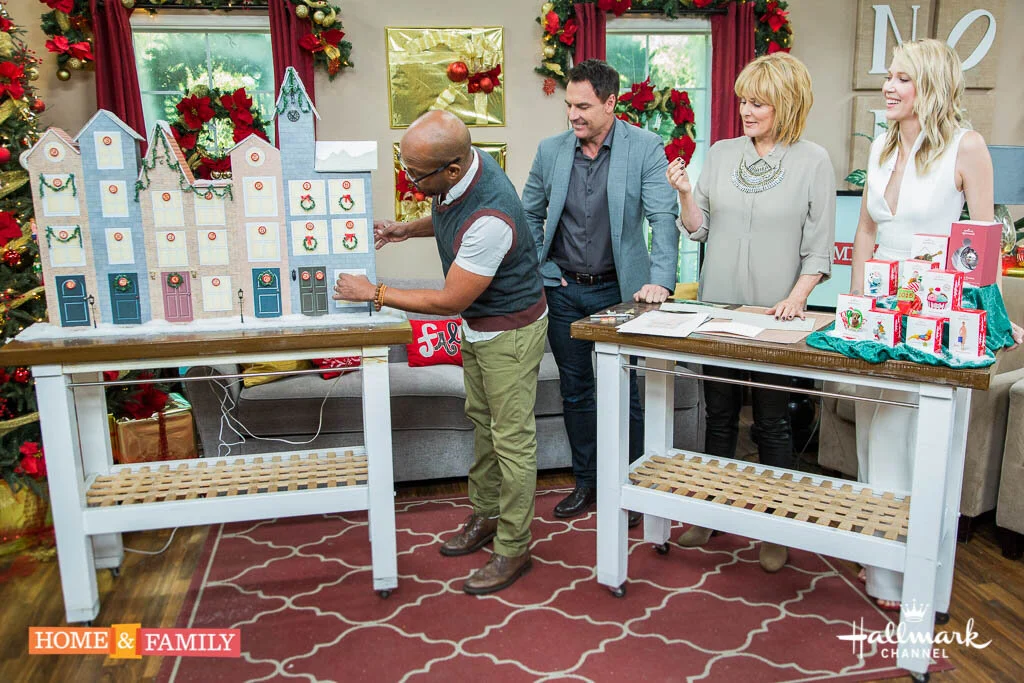
Countdown To Christmas Advent Calendar
I have such fond memories of opening the little paper doors on the advent calendar my parents hung in our room. They always revealed a small, very waxy piece of chocolate which I thought was the end-all and be-all of Christmas. Well, decades later, here is my own version of those little paper doors - the waxy chocolate is up to you.
MATERIALS
2 sheets of foam core
brick and/or stone patterned paper
shingle patterned paper or plastic sheeting (found at dollhouse supply stores)
window and door printouts (artwork below)
dollhouse lights (optional)
bingo tiles
various accessories (mini-garland, doorknobs, snow)
utility knife
glue gun
STEPS
IMG_2049
Draw out your village on one piece of the foam core. Lay the piece horizontally and draw lines up and down the piece every 6", this will serve as the guidelines for your buildings. Next, draw your roof lines. Measure in 3" and down 12" to find the middle and peak of your first building, from that point, measure down the sides another 3" and draw from these side points up to your middle point to create your roof angles. Repeat for the next 6" wide building (I measured down 9" for this one), and so on and so forth to get the skyline you want. Make some buildings double width (12") to add to the variety as well as giving some a flat roof or making some only 3" wide.
IMG_2050
Once you're happy with it, cut it out with a utility knife.
IMG_2063
Take the second sheet of foam core and cut it into 4" strips (this will be the depth of your calendar). Measure, cut and hot glue one 4" wide piece to the bottom of your skyline as a base.
IMG_2067
Measure, cut and hot glue more of the 4" wide strips from the base you just added up to the top of each part of the skyline along those 6" guidelines that you drew.
IMG_2068
Measure, cut and hot glue pieces to go horizontally between your vertical walls to create your cubby holes - they will be slightly less than 6" across.
IMG_2090
Add your patterned paper to the front and sides. Spray glue the back of the paper, lay it in place lining up the paper edge with the building edge and lay it down. Once affixed, go back with a utility knife and cut off the excess.
IMG_2091
Make your roofs by cutting a larger rectangle to fit the entire roof and them score it half way through so it bends.
IMG_2094
IMG_2095
Attach your shingle patterned paper or plastic sheets to the roofs and trim with a utility knife. Attach to the peaks with a bead of hot glue.
IMG_2093
Print out the doors and windows, cut out and decide where you'd like to place them, making sure to align them with the cubbies you created. Once you decide, affix them with spray glue.
IMG_2097
Once glued in place, go back with a sharp utility knife and cut out the doors and windows, cutting through the paper and the foam core. Once cut out, you should be able to remove and replace them pretty easily. If they're too tight, just trim a little, but don't trim to much, since you want them to be able to stay in on their own volition.
IMG_2099
Add your bingo tiles 1-25, for your numbers.
IMG_2100
Add door knobs ....
IMG_2111
...and garland, snow, clock faces, etc.
IMG_2105
For those over achievers (you know who you are) add lighting. Simple take dollhouse lights, cut a small hole in the foam core, run the plug and wire through and to the back where you can place the power source. Any dollhouse supply store where you can buy the lights can show you how. I did street lamps and then some wall sconces. If you're just doing the street lights you can also use the lamps that come with snow villages, they're available at most craft stores this time of year.


